 (1).png)

- Login
- Register
Natural Stone Wall Cladding Installation Guide | EarthStona
Natural Stone Wall Cladding Installation Guide | EarthStona
Introduction
Natural stone wall cladding enhances the beauty and durability of both interior and exterior walls. Proper installation is essential to ensure long-lasting performance, strong bonding, and a premium finish.
This installation guide from EarthStona explains the recommended process for installing sandstone wall cladding, stone panels, and other natural stone products.
Step 1 – Surface Preparation
The surface where the stone cladding will be installed must be strong, clean, and level.
Requirements:
- Surface should be free from dust, grease, oil, or loose particles
- Concrete or cement plaster surface is recommended
- Ensure the wall is dry and stable
- Repair cracks or uneven areas before installation
Proper surface preparation helps achieve strong bonding between the stone and wall.
Step 2 – Marking and Layout Planning
Before fixing the stones, plan the layout of the cladding panels.
Steps:
- Arrange the stones on the ground to check color variation
- Maintain proper alignment and pattern
- Mark horizontal reference lines on the wall
- Start installation from the bottom of the wall
This helps maintain a balanced and uniform stone pattern.
Step 3 – Adhesive or Mortar Preparation
Stone cladding can be installed using cement mortar or high-strength tile adhesive.
Recommended mixture for mortar:
1 part cement
3 parts sand
water as required
For better bonding, polymer-based tile adhesive can also be used.
Apply the adhesive evenly on the back side of the stone panel.
Step 4 – Fixing the Stone Panels
Carefully place the stone panel onto the prepared surface.
Installation tips:
- Press the stone firmly against the wall
- Use a rubber mallet to align the panel
- Maintain consistent spacing between stones
- Remove excess mortar immediately
Ensure each stone piece is properly aligned with the previous one.
Step 5 – Joint Filling
After fixing the stone panels, fill the joints if required.
Options include:
- Cement grout
- Colored grout
- Natural open joint finish
Clean the surface immediately after grouting to avoid stains.
Step 6 – Cleaning and Finishing
Once installation is complete:
- Clean the stone surface with a damp sponge
- Remove adhesive residue
- Allow the installation to dry completely
Optional sealing can be applied to enhance durability and stain resistance.
Maintenance Tips
To maintain the beauty of natural stone cladding:
- Clean the surface with mild soap and water
- Avoid harsh chemicals
- Inspect joints periodically
- Reapply stone sealer if required
Proper maintenance ensures long-lasting appearance.
EarthStona Installation Support
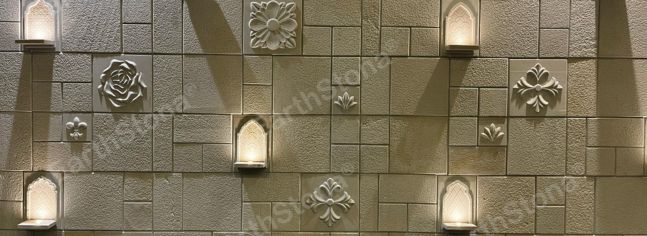
EarthStona products are crafted for durability, beauty, and easy installation. Our natural stone wall cladding, murals, and carved panels are suitable for residential villas, commercial spaces, and landscape projects.
For installation assistance or product enquiries, please contact our team.
Quick WhatsApp Support at +91-93064-07303
Follow on Instagram: @earthstona
Website: www.earthstona.com (Exporters and manufacturer in India)